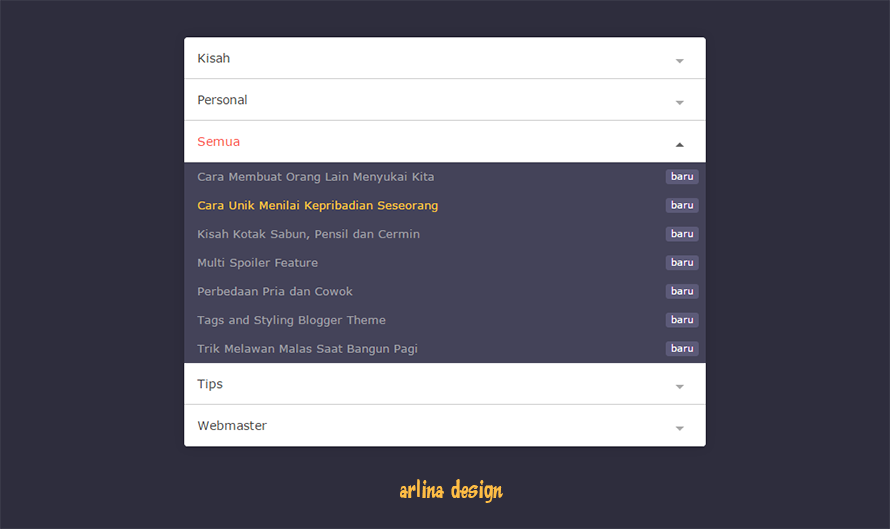
Posts

Showing posts with the label Blogger

Hiding javascript to increase blogger blog speed

Image
Me often find comments on blogs Mascots inquiring about blogger widgets that can not be performed, such as the blog's stat widgets and more. Well that's because Maskolis add a code that hides JavaScript Widget widget Blogger so that all bloggers are using JavaScript automatically become unworkable. It turned out that this is done in order to speed up the loading of the blog. With the existence of this code, the browser can not recognize native JavaScript code Blogger.As we have seen, that the amount of JavaScript code in the blog, the more burdensome loading the blog. Perhaps some of you ask what the hell that Blogger Widget Javascript? If you look at the page source of your blog as CTRL + U, then you will see at the bottom of the HTML template you like the code below. <

How to create blogger sitemap per tables 100% Worked

Image
Stylish blogger sitemap per tables Tutorial Create Blogger Sitemap Per Tables: Open dashboard blogger. Navigate to pages tab Create New Page Enter the code below in html editor mode <div-wrapper id='wrapper'><div-wrapper dir="ltr" style="text-align:left;" trbidi="on"><div-wrapper class="table-of-content" id="table-of-content"><div-wrapper class="loading"><img class='loading' src='https://res.cloudinary.com/dimaslanjaka/image/fetch/http://www.amcsscentry.gov.in/asset/images/please_wait.gif'></div-wrapper></div-wrapper></div-wrapper><div-wrapper><script async='async' custom-element='div-wrapper' src='https://cdnjs.cloudflare.com/ajax/libs/modernizr/2.8.3/modernizr.min.js'></script> <link href='https://codepen.io/dimaslanjaka/pen/eWWzrL.css' rel='stylesheet'> <style type="text/css&q

Replacing the Label Widget Blogger Function to Be Dropdown

Image
   I will provide another option of the label widget that can be made dropdown, it looks exactly the same as the dropdown in the archive widget. The purpose of changing the look of this label widget is to save space on the blog page if in my blog there are many labels that make the blog look narrow because it is not just a label widget that is on the blog. In addition your blog will look more tidy and professional. For those who want to mecobanya, please follow the following tutorial: Replacing the Label Widget Function to Be Dropdown 1. Go to Blogger> Template> Then find this code <ul> <b:loop values='data:labels' var='label'> <li> <b:if cond='data:blog.url == data:label.url'> <data:label.name/> <b:else/> <a expr:href='data:label.url'> <data:label.name/> </a> </b:if> ( <data:label.count/>)

[DISQUS] Mengatasi Plaintext URL Menjadi Link Hidup Otomatis

Image
Disqus merupakan sebuah layanan komentar di dunia maya yang bisa di pakai dalam berbagai situs populer, seperti blog WordPress, Blogspot, Tumblr bahkan juga website besar seperti CNN.com dapat diintegrasikan dengan Disqus untuk mendukung layanan diskusi bagi para pengguna di dunia maya. Disqus juga dapat diintegrasikan dengan berbagai jenis CMS seperti Joomla, Drupal, Squares pace, Yola Site, Doku Wiki dan Chimp. Disqus dapat menjadi solusi alternatif layanan komentar dari sistem komentar bawaan blog itu sendiri karena lewat Disqus dapat memfasilitasi komentar-komentar yang ada dari pengguna blog secara lebih baik. Disqus dapat langsung dihubungkan dengan berbagai situs sosial media seperti Facebook, Twitter, Google Plus dan lain-lain. Dengan menghubungkan Disqus dan akun sosial media maka komentar yang ditampilkan di Disqus akan secara otomatis muncul di akun jejaring sosial si pengguna. Cases Namun pada saat user atau visitor me

CSS Only Responsive Social Share Buttons For Blogger

Image
save the following CSS styles above </head> <b:if cond='data:blog.pageType == &quot;item&quot;'> <style type='text/css'> /*<![CDATA[*/ .share_responsive{position:relative;height:40px;margin:20px 0!important;padding:0} .share-btn,.share-btn li,.share_responsive h4{margin:0;padding:0} .share_responsive h4{height:40px;width:10%;position:absolute;top:0;left:0;z-index:2} .share-btn{height:40px;padding:0;margin:0!important;width:100%;} .share-btn:after{clear:both} .share-btn:after,.share-btn:before{content:' ';display:table} .share-btn li{box-sizing:border-box;width:10%;height:100%;line-height:40px;padding:0!important;margin:0!important;list-style-type:none!important;transition:all .3s ease-in-out;float:left;border:0!important} .share-btn li.btn-line a,.share-btn li.btn-line a:hover{background-color:#00C300} .share-btn li.btn-facebook a{background-color:#306199} .share-btn li.btn-facebook a:hover{background-color:#244872} .share-btn li.

How To Create a Blogger Contact Popup Comes With Google Maps

Image
The function of the contact form on a blog is to make it easier for blog visitors to contact the blog admin.   Blogger itself has provided a contact form that is already connected with the Gmail account admin blog.   Well this time I will share how to create a contact form Blogger popup with Google Maps equipped, so this (Google Maps) will be more to give visitors trust to the blog admin, especially if the blog is used for business or online store.   Visitors or consumers will be more confident because the business location is clear.   DEMO Please try on the menu " Contact " Interested to try it?   Please follow the steps below.   The first thing to do is to register your business location on Google My Business by storing our business location on Google Maps.   If you have not yet saved your business location on Google Maps, please follow the following tutorial:   How to Spot Your Places In Google Maps   And it will be better, verify also where your business is

How to Get Rid of Icon Screwdriver and Pliers Wrenches Quick Edit Wrench

Image
How to Remove Screwdriver Icons and Pliers (Quick Edit and Wrench). Quick Edit Icon and Wrench Icon ( icon screwdrivers and pliers ) usually appear on Blogspot Blog when we login. The Quick Edit icon (pencil drawing) usually appears at the end of the post. Its function is to make it easier for bloggers to edit the post. Just click the pencil icon or image, then bloggers can edit or update posts. Icon Wrench or Screwdriver & Tang appear on every Gadget / Widget in the sidebar.Functions the same as the quick edit icon, which allows bloggers to edit the widget on his blog. The problem is, some bloggers feel annoyed with these icons. After all we can edit the widget and post directly on the dashboard. After all, the existence of these two icons seems to make our blog so "less SEO Friendly". The proof, please check in Chkme , it will appear Image Missing Description & Title, among which Wrench icon is

Schema Blogposting Untuk Blogger AMP

Image
Structure BlogPosting pada AMP merupakan hal istimewa. Dijamin bila keyword density (kata-kata/kalimat yang berhubungan dengan title/judul post) banyak akan ditampilkan dalam card view di posisi kedua di google. (Cek Screenshot). Nah kali ini saya akan share bagaimana cara menempatkan schema Blogposting/BlogPosting Rich Card di blogger. Berikut tutorial nya: Taruh kode dibawah ini di bawah <article .....>: <b:if cond='data:blog.pageType == "item"'> <script type='application/ld+json'> {&quot;@context&quot;:&quot;http:\/\/schema.org&quot;,&quot;@type&quot;:&quot;BlogPosting&quot;,&quot;mainEntityOfPage&quot;:&quot;<data:blog.url/>&quot;,&quot;headline&quot;:&quot;<data:blog.pageTitle/>&quot;,&quot;datePublished&quot;:&quot;<b:if cond='data:post.timestamp'><data:post.timestamp/></b:if>&quot;,&quot;dateModified&quot;:&a

Cara Membuat File Peta Situs untuk Situs Web HTML Anda

Image
File peta situs Di posting saya sebelumnya saya membahas Cara Membuat File Peta Situs untuk Situs WordPress Anda . Dalam tutorial ini saya akan menunjukkan cara membuat file sitemap (contoh sitemap.xml) untuk situs HTML Anda. Peta situs digunakan oleh Google dan Bing sebagai hierarki untuk situs web Anda. Saya sangat menyarankan meluangkan waktu untuk membuatnya dan mengirimkannya dengan benar ke Google, Bing, dan Yandex. Langkah 1 Dulu saya merekomendasikan perangkat lunak GSiteCrawler untuk menghasilkan peta situs web HTML Anda secara manual. Tapi situs mereka tampaknya turun dan file diambil secara offline. Hal terbaik kedua adalah melalui https://www.xml-sitemaps.com . Versi online gratis mereka mendukung hingga 500 halaman. Langkah 2 Masukkan nama domain anda Jika Anda tidak tahu frekuensi yang Anda inginkan, pilih mingguan. Pili

CSS Spoiler Only With Label And Input

Image
unfortunately the  details  and  summary tags are not allowed in AMP HTML.   So the CSS spoiler only with details and summary can only be used for HTML5 templates only.   For CSS only spoilers to be used in HTML5 and AMP HTML then we need another way to create them.   Still remember with my post about fixed slide Blogger popular posts AMP HTML ?   There I used the  label label  and  input  for the  close  widget button.   From there I can idea to make CSS spoiler only with label and input .   The Demo can be tried in  amp-iframe  Codepen.io below.   How cool is not it?   If you want to try it on your blog, please follow the steps below.   Please save the CSS code below in your blog's CSS style .   .spoiler .spoiler_title {  display: inline;  float: left;  margin: 3px 10px 0 0;  padding: 4px 0;  font-size: 16px;  line-height: 1;  }  .spoiler label {  cursor: pointer;  background: #26272a;  margin: 0;  padding: 4px 18px 4px 22px;  outline: none;  border-radius: 3px;

AMP Social Sharing Button Added BBM and WhatsApp

Image
Today I combine the share button for Line and BBM with other social share buttons like Facebook, Twitter, Google+, Tumblr, LinkedIn, Pinteres, and Whatsapp. To combine all the share buttons, I found the responsive social sharing buttons pretty cool. Then I slightly modify it to add a share button for Line and BBM and customize it with Blogger for easy pairing and running. All icons on this social sharing responsive use SVG, so there is no need to link font icons like the Awesome Font and of course support all modern browsers. For the tutorial Please follow the steps below. Make sure your blog is already using any version of the jquery library. Please save the following CSS style code above </ head> code. <b:if cond='data:blog.pageType == &quot;item&quot;'> <style type='text/css'> /*<![CDATA[*/ .rrssb-buttons{box-sizing:border-box;font-family:"Helvetica Neue",Helvetica,Arial,sans-serif;font-size:10px;height:36px;margin:0;pa